1. Prepare Your Device
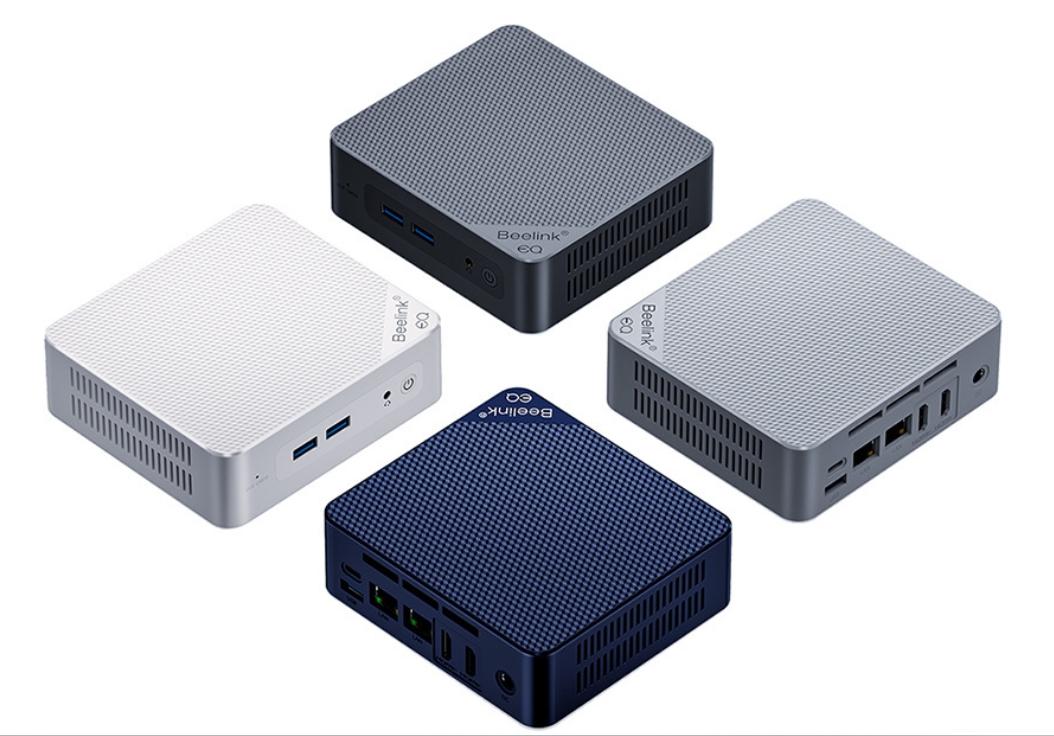
Ensure that your Beelink N100 is connected to a power source and network, and has an available operating system (such as Ubuntu or another Linux distribution).
2. Install Home Assistant
You can install Home Assistant using Docker or Home Assistant OS:
- Using Docker:
- Install Docker by running
sudo apt install docker.io in the terminal.
- Start the Docker service with
sudo systemctl start docker.
- Run Home Assistant using the command:
arduino
sudo docker run -d --name home-assistant --restart=unless-stopped -e "TZ=YOUR_TIME_ZONE" -v /path/to/your/config:/config --network=host ghcr.io/home-assistant/home-assistant:stable
- Using Home Assistant OS:
- Download the Home Assistant OS image.
- Use a tool like balenaEtcher to write the image to a USB flash drive.
- Insert the USB drive into the Beelink N100, boot from it, and follow the installation instructions.
3. Access Home Assistant
Open your web browser and enter http://YOUR_IP_ADDRESS:8123 to access the Home Assistant user interface.
4. Set Up Initial Configuration
Follow the prompts in the interface to complete the initial setup, including creating a user account and configuring your region settings.
5. Add Integrations
Start adding the devices and services you want to manage within Home Assistant by using the integration options available.
By following these steps, you can successfully configure Home Assistant on your Beelink N100.


Post Comment